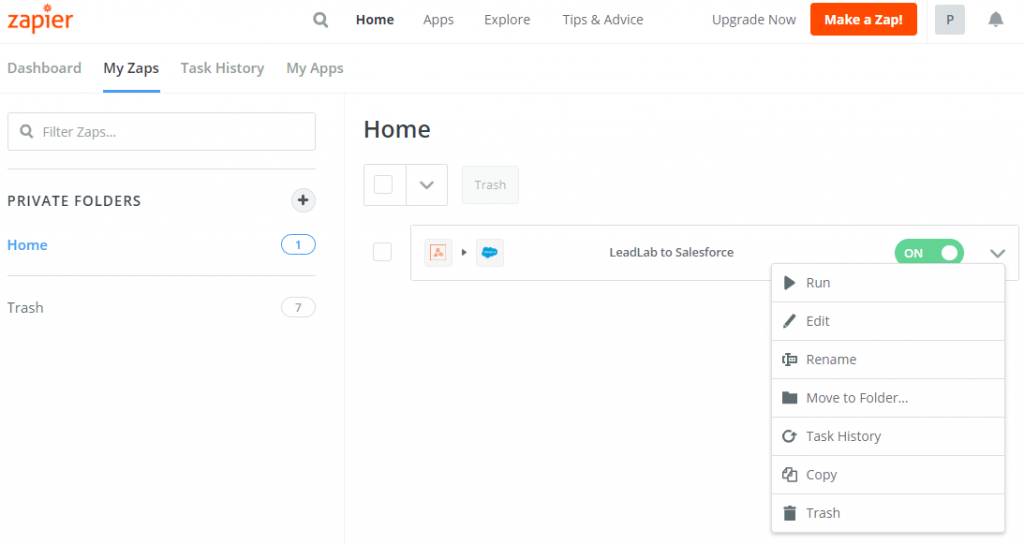
This configuration assumes that you have already created an API feed in LeadLab. If you haven’t created one yet, here are instructions on how to do so.
In the first step, select Make a Zap!

Select the Webhooks by Zapier.
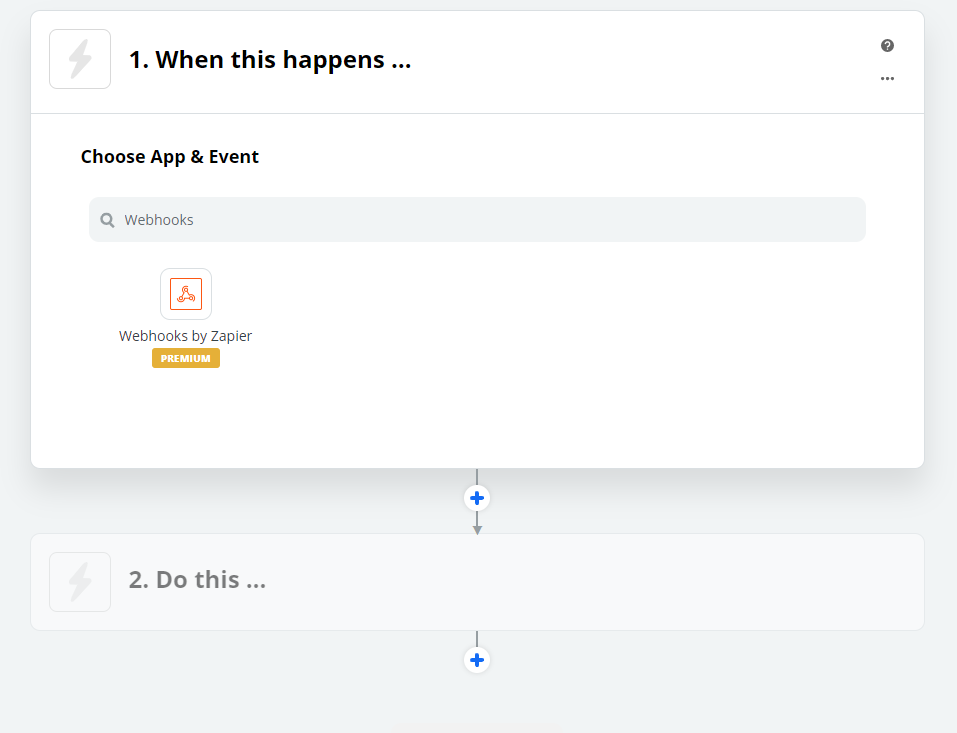
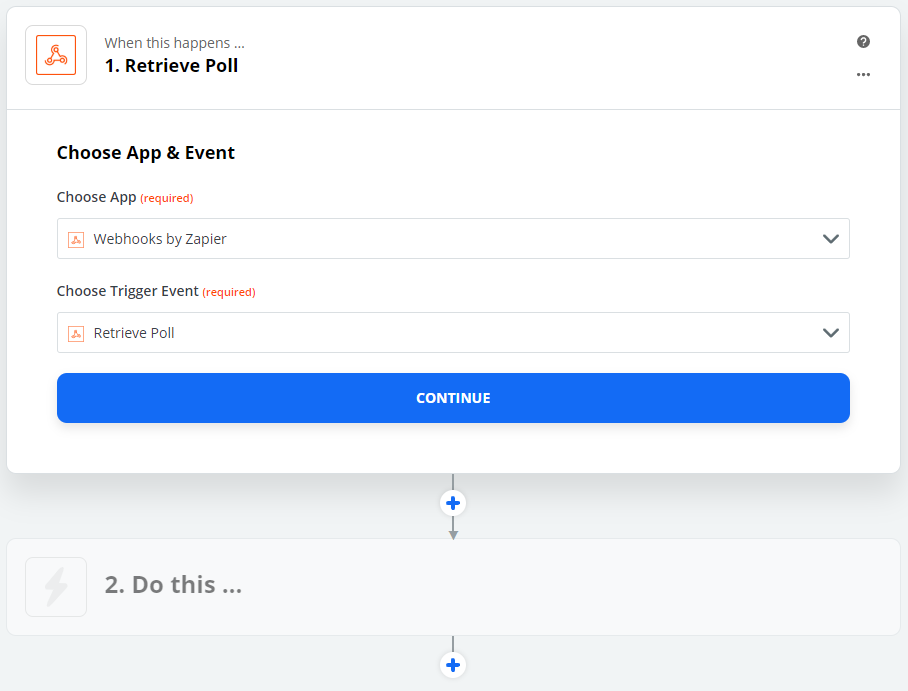
Under Choose Trigger Event, select Retrieve Poll and confirm with Continue.
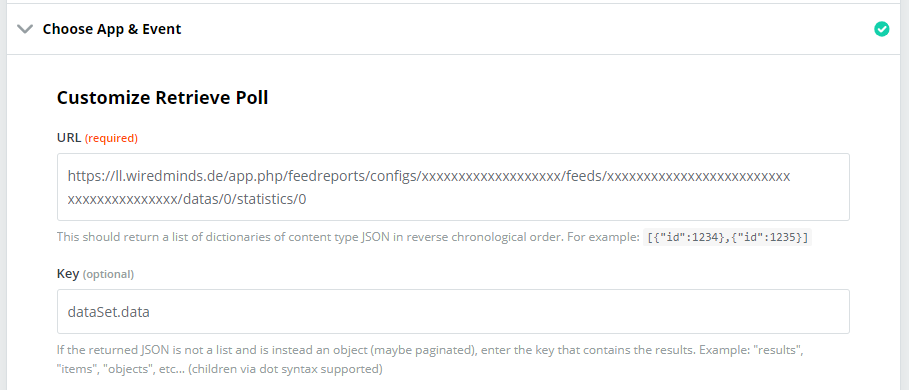
Then copy the API feed URL API-Feed URL from LeadLab and copy it into the URL (required) field.
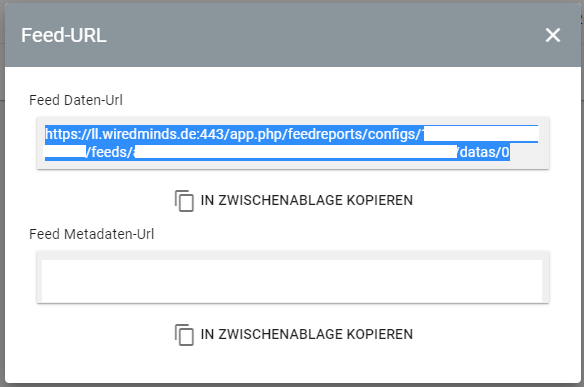
Now expand the stored URL with the following page path.
/statistics/0
EnterdataSet.data as the key Confirm the configuration with Continue.
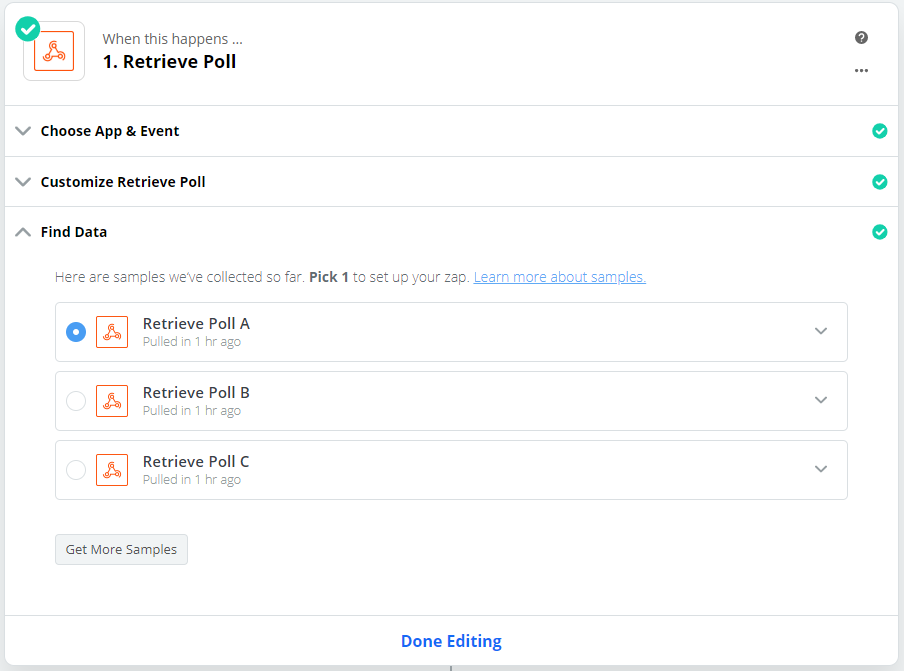
After successfully retrieving the data, you will get a data set example. Select Retrieve Poll A here. Confirm by clicking on Done Editing.
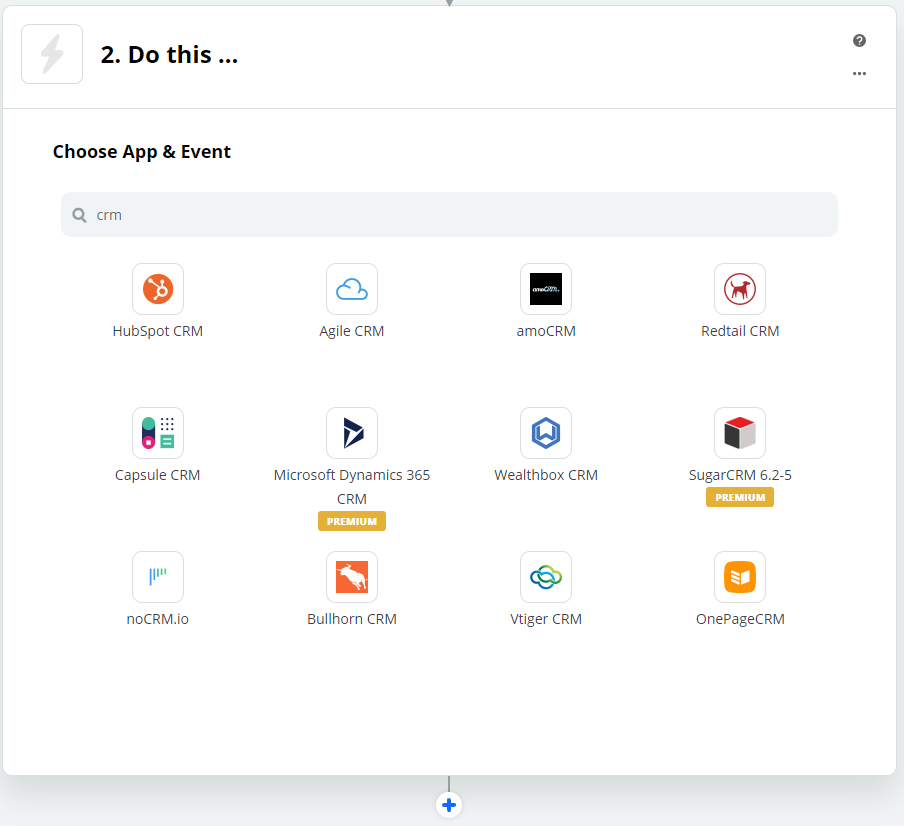
In the next step, select where the LeadLab data will be transferred to. For example, your CRM system.
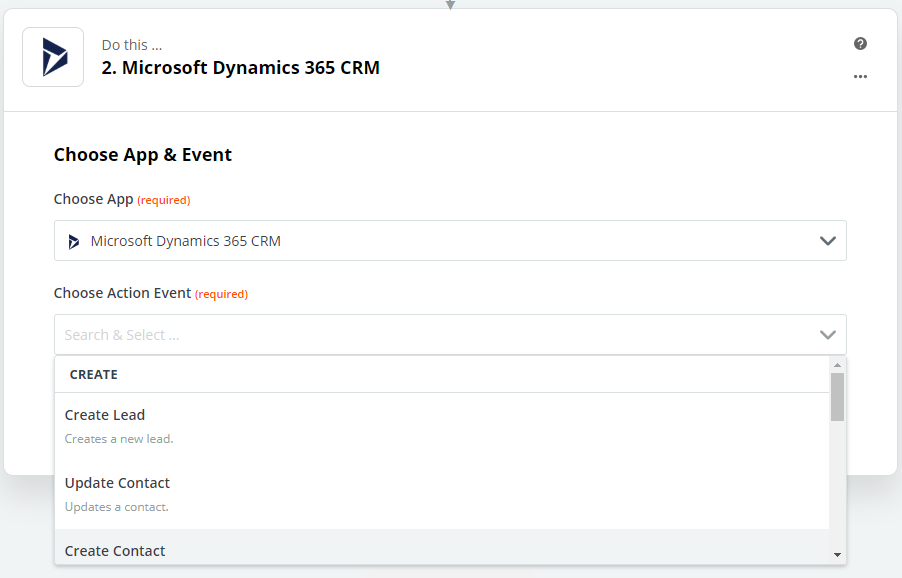
After you have selected the desired app, choose under Choose Action Event which object should be enriched with LeadLab data. For example, “Create Lead”. Confirm with Continue.
After you have selected the app and action event, you need to log in with your CRM user profile. Now you will see all the fields from your CRM system. You need to map them with the fields from LeadLab.
Example: [CRM field] Company = [LeadLab field] CompanyName
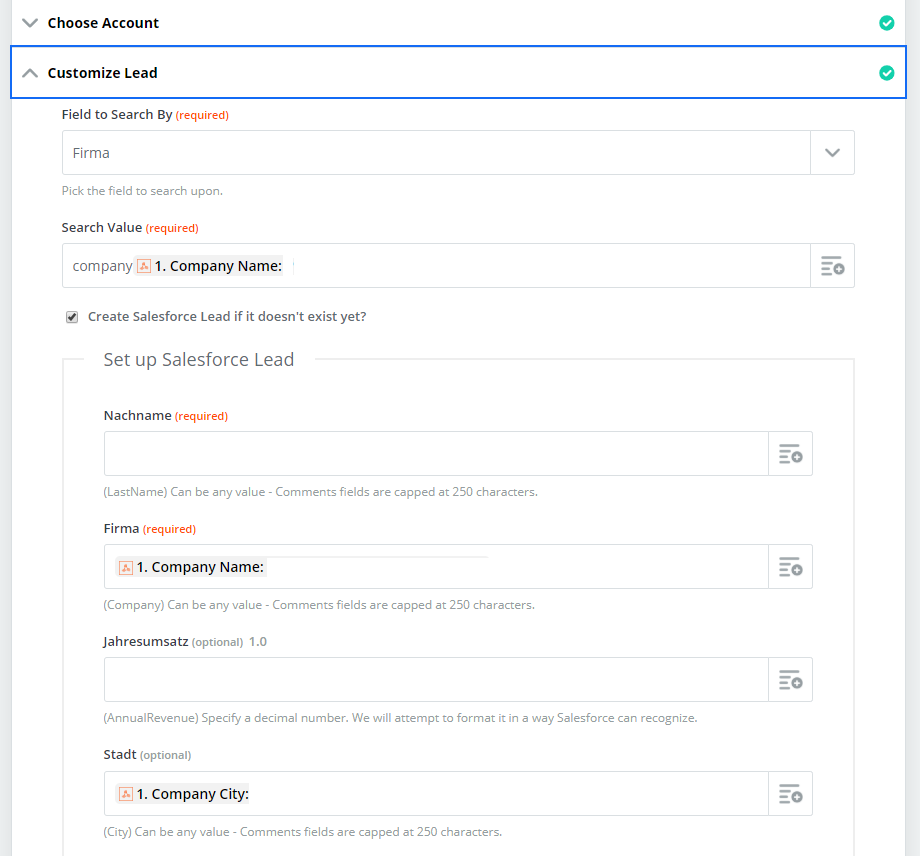
In the screenshot example, we used the Find Lead action and specified that the matching is performed based on the company name. If there is no lead with the same company name, a new lead will be created. We have mapped the “Company” field to the LeadLab “Company Name” field and the “City” field has been mapped to “Company City” .
After you have assigned all the desired fields, you can use
Test & Review or Test & Continue to create an initial record in your selected app. Zapier will use the first record found from the report feed for this.
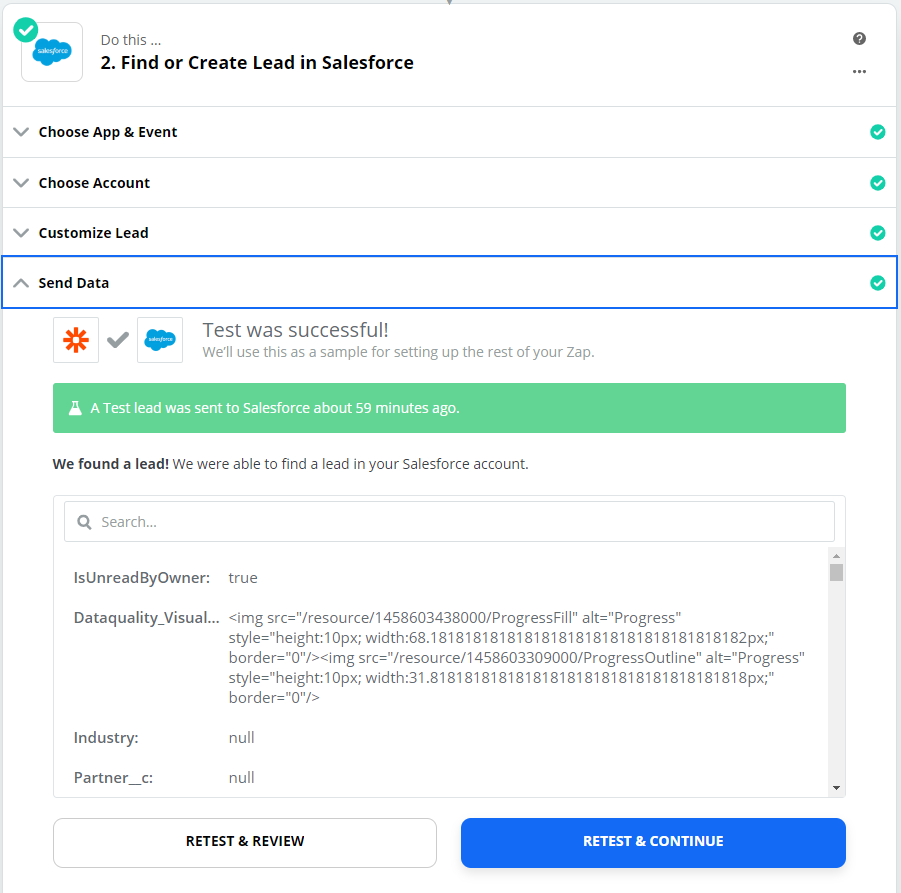
Once all fields have been assigned and you are satisfied with the result, you can activate your Zap!
